Brazilian Recipe Brazilian Recipe
English Português English Español 日本語 中文 Русский Deutsch

Brazilian recipe

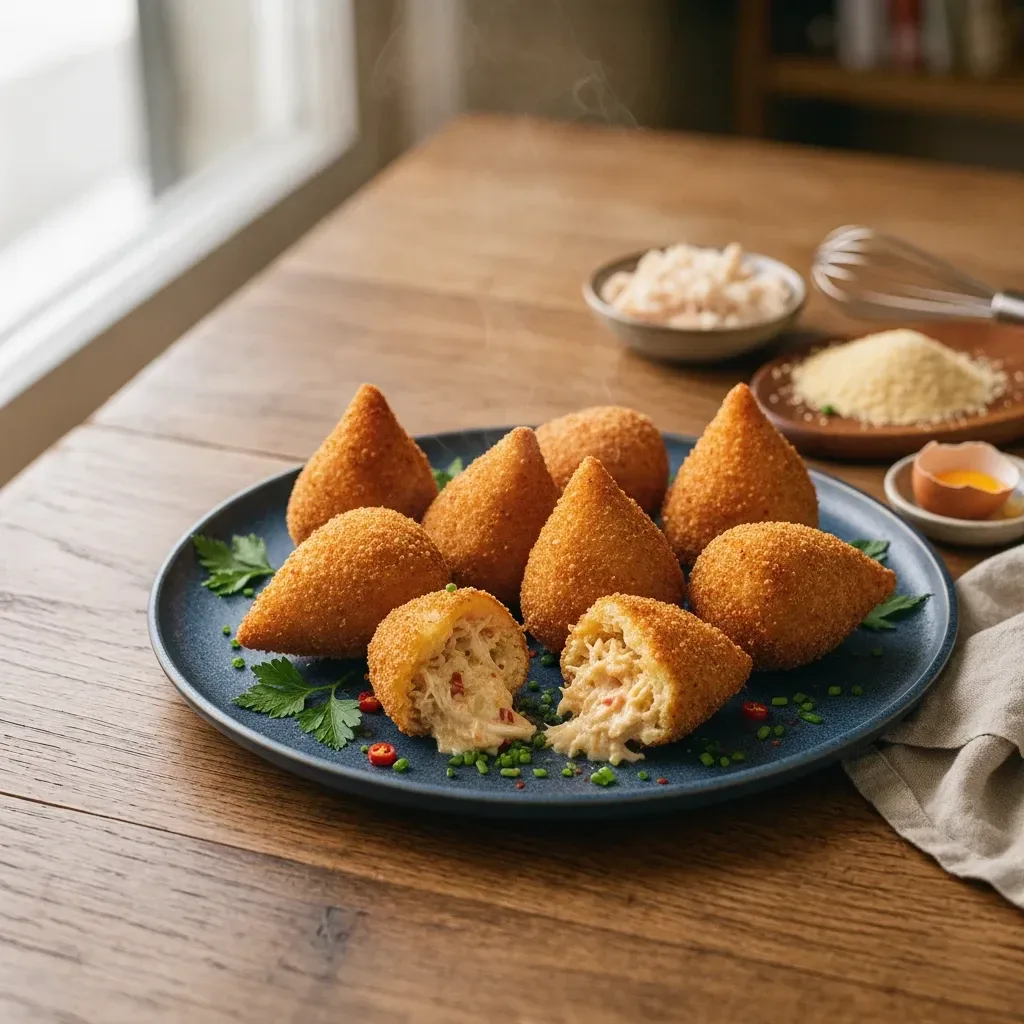
Creamy Chicken Coxinha: Step-by-Step Guide (Coxinha de frango)

Master the art of making a creamy, traditional Brazilian snack with a delicate dough base and a succulent shredded chicken filling.

0.0 / 5 by 0 Reviews
60 min preparation 30 min cooking 40 portions 1142 product views
Creamy Chicken Coxinha: Step-by-Step Guide (Coxinha de frango)

Ingredients

3 eggs, beaten (for breading)
1/2 cup margarine
2 eggs
1 kg wheat flour
Salt to taste
8 1/2 cups water
1 bouillon cube (chicken)
4 cups breadcrumbs
2 chicken breasts, cooked and shredded

Where to find ingredients

All ingredients are standard items found in local supermarkets. For the shredded chicken, use fresh poultry sourced from local butcher shops; as a substitute for margarine, high-quality unsalted butter can be used for a richer flavor.

Preparation method

  1. Dissolve the chicken bouillon cube in the water and bring to a boil.
  2. Add the margarine and wheat flour, stirring vigorously and continuously until the mixture pulls away from the bottom of the pot, forming a smooth dough.
  3. Transfer the dough to a stand mixer, add the two eggs and salt, and beat until well incorporated.
  4. Remove the dough from the mixer and finish by kneading lightly with your hands on a smooth surface.
  5. Divide the still-warm dough into 40 equal portions.
  6. Flatten each portion in the palm of your hand, place the seasoned shredded chicken in the center, and shape into the traditional teardrop form.
  7. Dip each unit into the beaten eggs and then coat thoroughly in breadcrumbs.
  8. Deep-fry in hot oil until golden brown and crispy.

Observations

The creamy coxinha is a staple of Brazilian savory snacks, beloved for its soft dough and well-seasoned filling. This recipe blends precise technique with humble ingredients to achieve a professional result, making it the perfect project for anyone looking to master the craft of authentic homemade appetizers.
Help keep this recipe accurate and useful. Use this channel to report an error, suggest improvements, praise or ask a question about the recipe.

Report something about this recipe

Use this channel to report an error, suggest improvements, praise or ask a question about the recipe.

Preparation method

Step-by-step images

Step 1

Dissolve the chicken bouillon cube in the water and bring to a boil.

Dissolve the chicken bouillon cube in the water and bring to a boil.
Step 2

Add the margarine and wheat flour, stirring vigorously and continuously until the mixture pulls away from the bottom of the pot, forming a smooth dough.

Add the margarine and wheat flour, stirring vigorously and continuously until the mixture pulls away from the bottom of the pot, forming a smooth dough.
Step 3

Transfer the dough to a stand mixer, add the two eggs and salt, and beat until well incorporated.

Transfer the dough to a stand mixer, add the two eggs and salt, and beat until well incorporated.
Step 4

Remove the dough from the mixer and finish by kneading lightly with your hands on a smooth surface.

Remove the dough from the mixer and finish by kneading lightly with your hands on a smooth surface.
Step 5

Divide the still-warm dough into 40 equal portions.

Divide the still-warm dough into 40 equal portions.
Step 6

Flatten each portion in the palm of your hand, place the seasoned shredded chicken in the center, and shape into the traditional teardrop form.

Flatten each portion in the palm of your hand, place the seasoned shredded chicken in the center, and shape into the traditional teardrop form.
Step 7

Dip each unit into the beaten eggs and then coat thoroughly in breadcrumbs.

Dip each unit into the beaten eggs and then coat thoroughly in breadcrumbs.
Step 8

Deep-fry in hot oil until golden brown and crispy.

Deep-fry in hot oil until golden brown and crispy.
Final result

Creamy Chicken Coxinha: Step-by-Step Guide (Coxinha de frango)

Creamy Chicken Coxinha: Step-by-Step Guide (Coxinha de frango)

Ratings and comments

Share your experience

Tell us how the recipe turned out.

Photo of the recipe sent in the comment