


Brazilian recipe
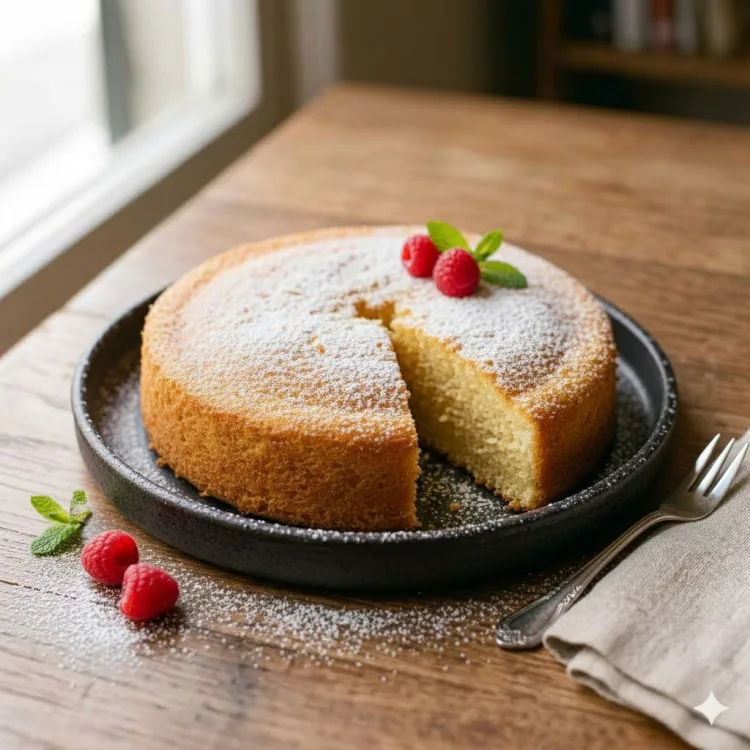
Light and Airy Brazilian Sponge Cake (Pão de ló)
Pão de ló is a true staple of Brazilian home baking, famous for its feather-light, airy crumb and simple method that uses just a handful of pantry staples.
0.0 / 5 by 0 Reviews
Ingredients
6 eggs
6 tablespoons sugar
5 tablespoons all-purpose flour
1 tablespoon level baking powder
6 tablespoons sugar
5 tablespoons all-purpose flour
1 tablespoon level baking powder
Where to find ingredients
Eggs, sugar, and all-purpose flour are everyday essentials easily found in any local supermarket or neighborhood grocery shop in Jamaica. Baking powder is commonly available in the baking aisle of any grocer. For the best result, ensure your eggs are fresh and at room temperature before you start whipping them.
Preparation method
- Separate the egg whites from the yolks
- Beat the egg whites until they form stiff, glossy peaks
- Add the egg yolks one at a time while keeping the electric mixer running
- Gradually add the sifted sugar while continuing to beat the mixture
- Sift the flour carefully
- Turn off the mixer and fold the flour into the batter by hand
- Use gentle, folding motions from the bottom up to keep the mixture airy
- Stir in the baking powder as the final step
- Bake in a preheated oven at a moderate temperature until golden brown
Observations
This classic sponge is the perfect foundation for all sorts of layered cakes and sweet treats. The secret to getting it just right is to fold in the flour with a gentle hand, keeping all that lovely air trapped inside so your cake comes out perfectly soft and fluffy.
Ratings and comments