


Brazilian recipe
Pressure-Cooked Roasted Chicken with Crispy Farofa (Frango assado na pressão com farofa crocante)
Master the technique for a succulent, golden roasted chicken using a pressure cooker, paired with a savory and moist farofa for an unforgettable family feast.
0.0 / 5 by 0 Reviews
Ingredients
200 g bacon, diced
300 ml wine of your choice
1 cube chicken bouillon
2 tsp homemade seasoning paste
1 packet ready-made corn-based farofa
300 ml cooking oil (50 ml for the marinade and 250 ml for roasting)
6 fresh fennel sprigs or 1/2 packet dried fennel
1 whole chicken (approx. 2 kg), giblets removed
200 g thin linguiça, diced
500 g fried pork skin (torresmo)
Where to find ingredients
You can source these ingredients at local supermarkets in Port Vila. Look for fresh poultry in the meat section. For the Brazilian staples like farofa and linguiça, check specialty aisles or import sections. If unavailable, use toasted cassava flour (manioc meal) as a substitute for farofa, and any high-quality smoked sausage as a substitute for linguiça.
Preparation method
- Blend the wine, chicken bouillon, seasoning paste, fennel, and 50 ml of oil in a blender until the marinade is smooth.
- Place the chicken in a large lidded container, pour the marinade over it, cover, and refrigerate for 24 hours.
- The next day, remove the chicken from the marinade, drain well, and save the remaining liquid for the farofa.
- Truss the chicken legs with kitchen twine to ensure it retains its shape during the pressure-cooking process.
- Heat the 250 ml of oil in a pressure cooker and carefully brown the chicken on all sides over high heat.
- Seal the pressure cooker, wait for it to reach pressure, then reduce the heat and cook for 15 minutes.
- Turn off the heat and allow the pressure to release naturally for 15 to 20 minutes before opening.
- While the chicken rests, fry the bacon and linguiça in a separate skillet until they are nicely browned.
- Gradually add the ready-made farofa to the bacon and linguiça mixture, stirring well to combine.
- Stir the reserved marinade liquid into the farofa and cook for about 15 minutes until slightly dry.
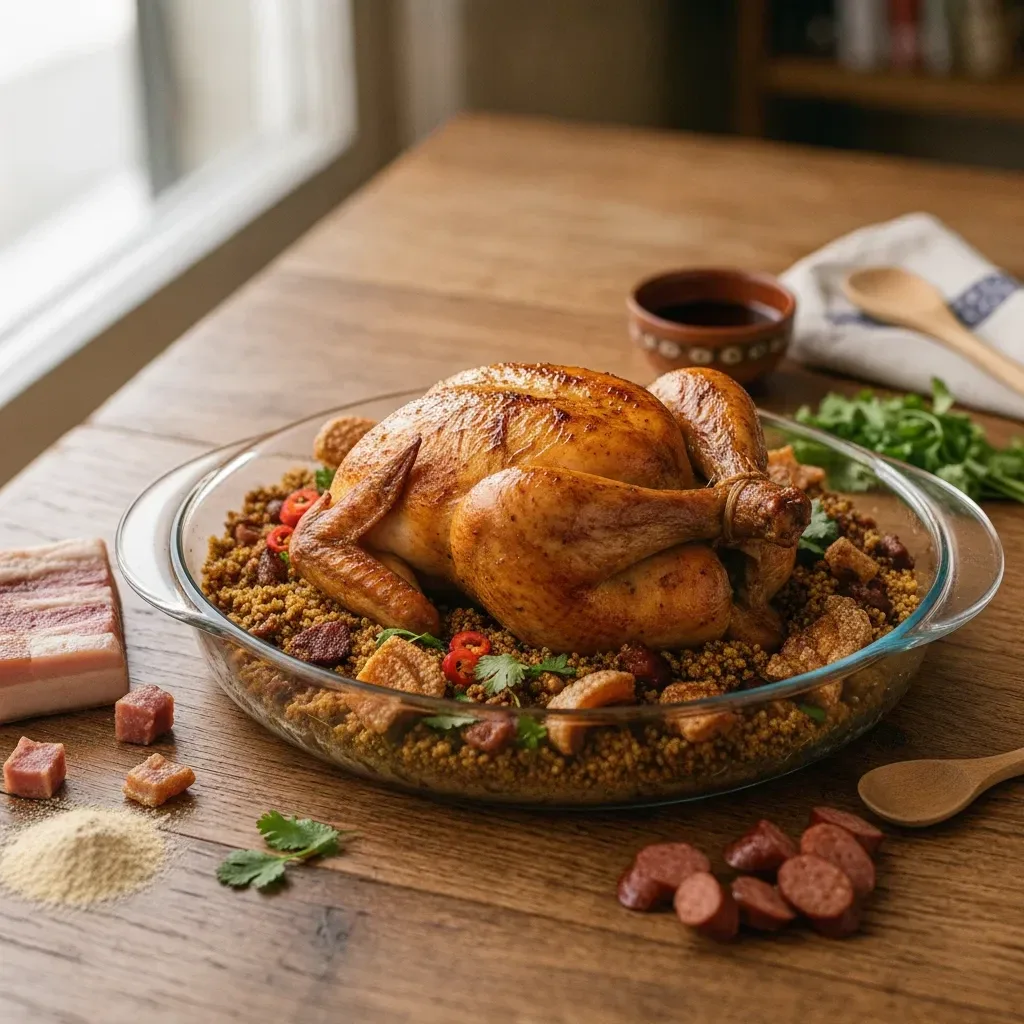
- Carefully remove the chicken from the cooker so it stays intact, place it on a bed of farofa on a serving platter, and garnish with the fried pork skins.
Observations
Cooking a whole chicken in a pressure cooker is a brilliant method to achieve incredibly tender, flavorful meat in a fraction of the time. The secret lies in the wine and herb marinade, which infuses deep flavor into the bird, while the pressure environment ensures it cooks evenly throughout. Served alongside a hearty farofa made with bacon and linguiça, this dish offers a classic, comforting experience that is sure to please everyone at the table.
Ratings and comments